7 Tips for Successfully Starting Seeds Indoors

It seems so simple. Buy the seeds. Stick them in the soil. A little water. Wait a week and green little plants poke their heads up. Starting seeds indoors can be a little more difficult. Anyone who has eagerly planted vegetable seeds in late winter and watched them, well, do nothing, can attest to that.
I remember planting seeds in the garden as a child, and it did seem simple, and even magical. Sweet corn, planted well into spring, when the air and soil were warm, or bush beans, or melons.
It seemed all I did as a 5-year-old was poke the seeds into the soft soil of the garden with a grubby finger and give them a douse with my mother’s watering can–or the hose if she let me use it–and a few days later there were my plants. I was always quite impressed with them.
Starting seeds indoors, without the benefit of the sun’s perfect light, warm rains, or fertile nurturing garden soil can be a bit of a challenge. Give a little attention to these seven factors when germinating seeds indoors and your success will improve.
Start with Good Seed
Ok, so what is good seed? Purchase your vegetable seeds, flower seeds, or herb seeds from a reputable company. They should be fresh, meaning that they were packed for the year you are planting them.
Many seed packets have the date they were packed or the year they are intended to be used right on the package. Seeds become less viable, or less likely to germinate, the older they get.
That open half a packet of tomato seeds in your junk drawer from 2014 is just not going to yield the same results as good, fresh seed. Give yourself a leg up and get good stuff.
Soil
A good seed starting soil or medium can hold adequate water, does not compact too much, and is airy. Garden soil, even from a good source, is usually too heavy, dries out quickly, and often will stunt seedling growth.
While success can be achieved with general-purpose potting soil, a good quality seed starting mix is best. One bag fills a lot of trays, so the cost is fairly low even for the good stuff. Make sure it is free from mold or fungus when you open the bag.
Containers

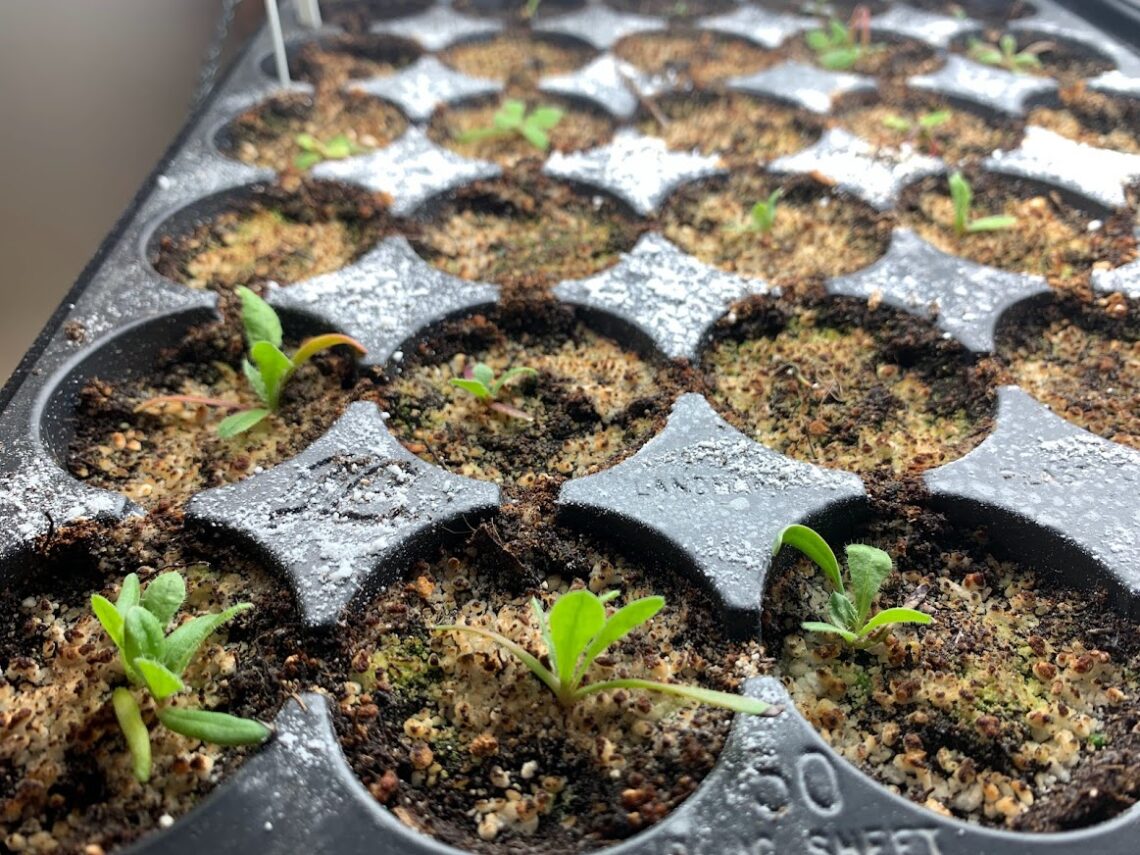
I have started seeds in milk jugs, cottage cheese containers, yogurt cups, and even the foam tray that chicken comes in from the grocery store. However, if you are germinating more than a few seeds, standard plastic 1020 trays with cell inserts are inexpensive and efficient, and allow watering from the bottom.
Seed starting trays and cell inserts can be found online or at garden centers, or anywhere seed starting supplies are sold. The number, 32/50/72, etc. refers to the number of cells in a standard tray. The lower the number, the larger the cell. Some seedlings need more space than others and grow better in a bigger cell. Check your seed packet for recommendations.
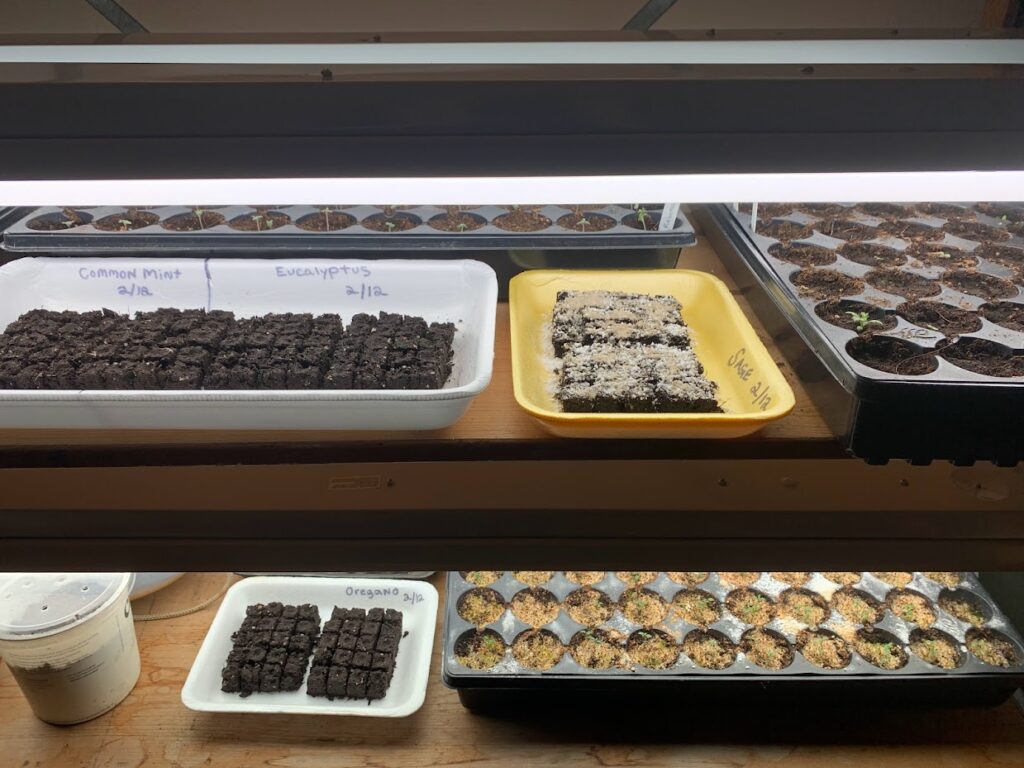
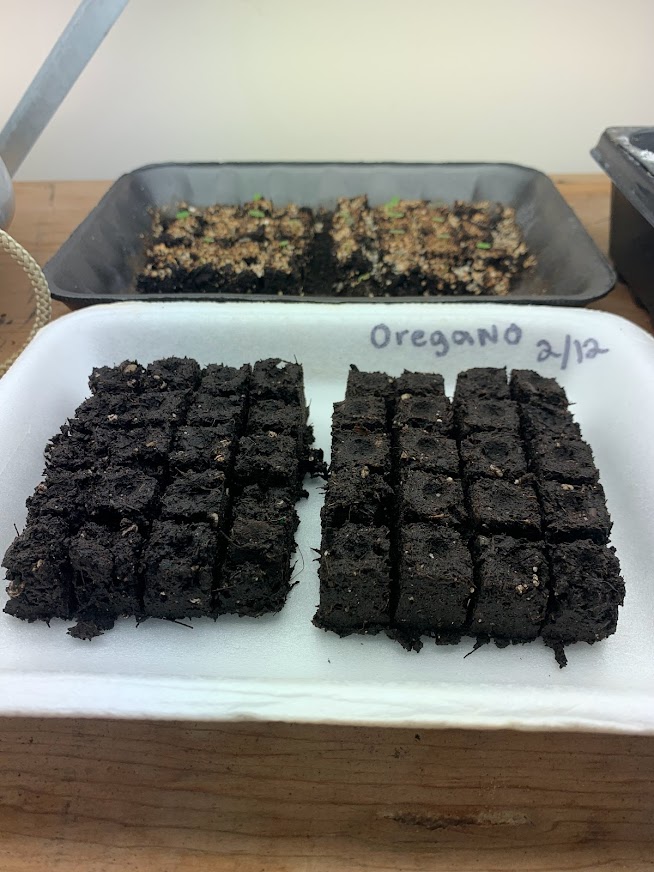
If you are starting many, many seedlings and don’t like the idea of all those plastic trays, check out a soil blocker. While a more expensive route, seedlings do very well in these formed blocks of starting mix and can be nestled into progressively larger sizes.
If you are planning on starting seeds year after year, the expense of a soil blocker–and the lack of plastic cell inserts everywhere–might be for you. Transplanting is also said to be easier and less of a shock for the plants.
This is our first year trying the soil blocker here at Stone’s Throw Flowers, so check back later for our report on our results.
Temperature
This one seems easy, but some seeds like it much warmer than others to germinate. In general, we have had decent results starting our seeds at room temperature in the house–about 70℉. However, some seeds may need to be warmer.
If your seed starting location is a cool windowsill, a basement, or a greenhouse in early spring, you may need a heating mat under your seed tray to warm the soil. They can be purchased online or where you buy your seed starting supplies. Resist the urge to use home remedies like an electric blanket. Germinating seeds involves water, and electric appliances not designed for contact with moisture can cause a problem.
If in doubt or curious about your seed’s preferred germination temperature, check the growing information on the seed packet or do a bit of internet research. One great source of information for all things related to vegetable and flower seeds is Johnny’s Seeds.
Planting depth
Pretty quick and easy here. Again, follow the instructions on the packet. Notice a pattern?
Some seeds like to be planted to a specific depth, some are laid on the surface of the seed starting soil and lightly covered with perlite or vermiculite, and some are just pressed into the top of the soil because they need light to germinate.
Planting the seed at the wrong depth can mean it won’t have enough energy once it germinates to reach the surface, or does not get the light it needs to germinate.
Moisture
Most seeds need some amount of water in the soil to help soften the hard coating of the seed and allow the embryo to emerge. The new seedling will then need to be able to take up water with its new little roots and grow. Seedlings are very sensitive to drying out.
Too much water, however, can lead to fungus, rot, seed molding, or suffocation of the tender new roots.
Moisten the starting mix before planting, rather than trying to sufficiently wet it after your seeds are in their new home. Watering from the bottom is usually sufficient, although some seeds/seedlings like to be misted.
A humidity dome–a clear plastic cover–can help the starting mix stay moist and warm. It can be removed once the seedlings are established.
Light
Adequate light in the right duration is crucial for proper seedling development. Apart from letting the seedlings dry out or drowning them, improper light might be the biggest factor in seedling failure or poor seedling performance.
Once those seeds have germinated, your seedlings need light to conduct photosynthesis. While your kitchen table may seem like a brightly lit location, it may not be providing the intensity and length of light needed to allow your seedlings to grow and thrive.
Seedlings getting “leggy” might be the most common symptom of a lack of light. This has happened to me more times than I would like to admit. Leggy seedlings are too tall and thin for their size. If you’ve ever tried to start tomato seeds in a windowsill you have probably experienced this first hand.
At first, the little green guys pop up and join our world, and all is fine. They look good, you feel good. But they seem to grow straight up, with very thin, weak stems. Eventually, they start leaning toward the window as if reaching out trying to get closer to the sun. That is, in effect, exactly what they are doing. Searching for better light.
Starting seeds indoors with grow lights is an easy way to avoid this problem. Fluorescent bulbs in the cool light range–as opposed to the “warm” range–are all that is needed, as well as a way to hang them close to the seedlings and move them up as the plants grow.
LED plant lights are effective as well but can get expensive to purchase, although consume less electricity in the long run.
Seed starting success will be yours

Follow the tips for starting seeds indoors above and you will be well on your way to a successful crop of seedlings and a bounty of healthy young plants for your garden or planters.
Feel free to experiment a bit, keep a journal or record of how long each variety took to germinate, what seed germinating soil medium you used, how often you watered, and other details. After a couple of tries, you will have a pattern of factors specific to your seed starting space that yield the best results for you.
Happy Growing!
One Comment
Working at Walmart
Cheers.